
Combat and Cave Survival Guide
Survival comes from controlling how many enemies can attack at once. Scout, pull small groups, fight through narrow approaches, keep a retreat lane and spend healing before a recoverable fight becomes a lost loadout.
The short version
- Do not sprint through multiple rooms and collect a train of enemies.
- Pull small groups and use cave walls or narrow passages to reduce flanking.
- Learn the attack cue of each enemy family before committing to long combos.
- Keep enough stamina and space to disengage, heal and reset the fight.
Control the engagement
- 01
Scout the edge of the room
Reveal only enough space to identify ranged enemies, hazards and a retreat line.
- 02
Pull a small group
Let a few enemies follow you back instead of entering the middle of a mixed pack.
- 03
Use a narrow approach
Walls and corridors can prevent melee enemies from surrounding you, but never fight with a dead end behind you.
- 04
Remove the highest-pressure threat
A ranged attacker or fast flanker can make an otherwise stable fight collapse. Deal with that pressure before chasing low-risk targets.
- 05
Reset when the pattern breaks
Back away, create space, heal and re-enter. Continuing a bad trade only puts the whole loadout at risk.
Read families, not just health bars
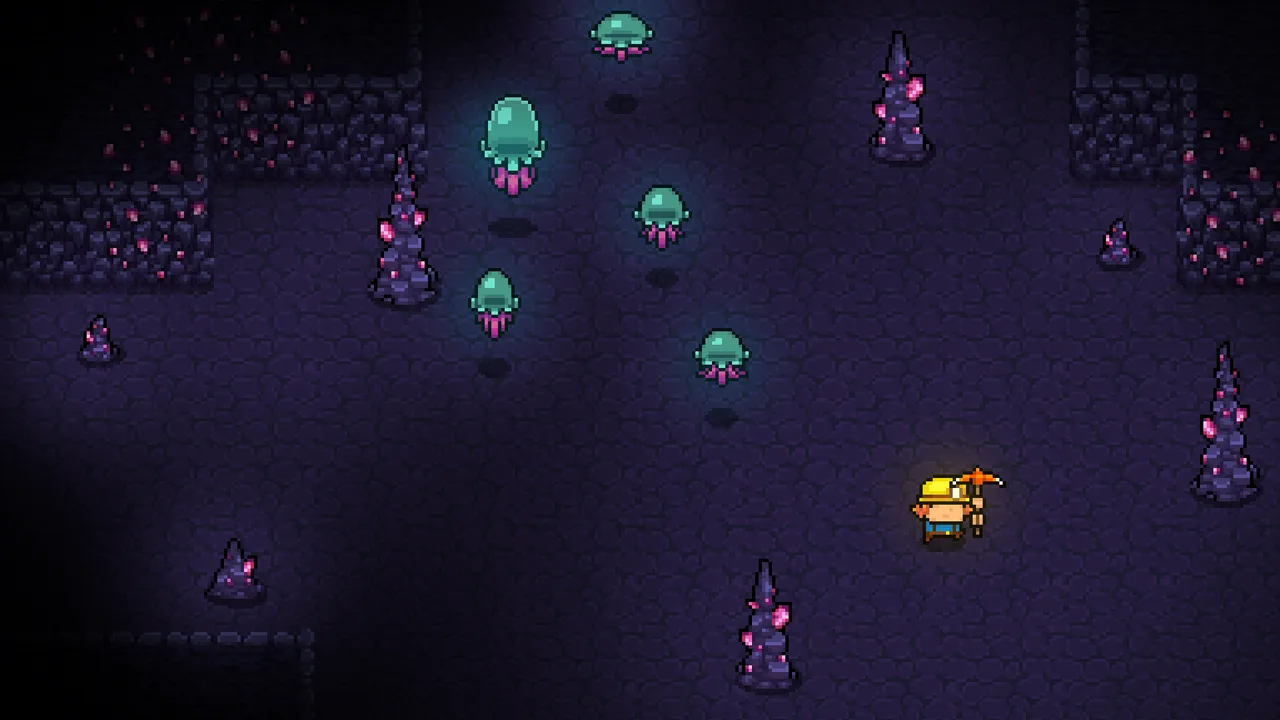
Fresh 1.0 play guidance notes that different cave layers and biomes concentrate different enemies. Tatties dash after detecting the player, while large green slimes divide into smaller slimes. The useful lesson is not a memorized list; it is to observe what a kill or attack will add to the battlefield.
Version 1.0 rebalanced weapons and creatures and improved several attacks. Advice from older videos may still illustrate a pattern, but damage values and timing should be checked in the current build.
Build a survival margin
| Risk | Preparation | In-fight response |
|---|---|---|
| Getting surrounded | Choose a route with an open retreat lane | Pull back before the pack closes behind you. |
| Ranged pressure | Carry a ranged answer or safe approach plan | Break line of sight and isolate the shooter. |
| Long boss fight | Bring healing and enough ammunition | Heal during real openings; do not wait for critical health. |
| Environmental hazard | Preserve stamina and visibility | Slow down and treat terrain as part of the encounter. |
| Extraction defense | Reload and heal before calling | Hold defensible space and spend consumables to secure the run. |
Why these are recommendations, not rules
Frequently asked questions
What is the safest way to fight groups?+
Pull a small number toward a narrow, cleared approach while keeping a retreat route open.
Should I save healing for later?+
Save enough for the objective, but use healing when it can prevent a recoverable fight from becoming a lost run.
What changed in combat at version 1.0?+
The official notes added weapon types and attacks, armor-set bonuses, magic, and rebalanced weapons and creatures across layers.
Below the Stone: S6, S9, S10 · 2026-11-22. Claims: C13, C14, C15.
- community-reported The Cave Troll uses a close-range slam, falling-rubble roar and diagonal shockwave; current player-tested advice favors open space, ranged damage, add control and disciplined dash/heal use.
- community-reported Pulling small groups, using narrow passages and learning enemy attack patterns are current player-tested survival tactics, not guaranteed universal solutions.
- confirmed Version 1.0 added Layer 3, magic weapons, new armor-set bonuses, story and NPC quests, later-layer resources and expanded kingdom progression.